 The weather does not always cooperate with your plans, and when staining your deck, you need the weather to behave. When dry and cured, deck stain can help protect the wood from the harmful effects of the sun and moisture. However, you need to plan even better with unpredictable weather as staining takes several days and involves a significant amount of money and time.
Problems with Staining Decks with Potential Rain
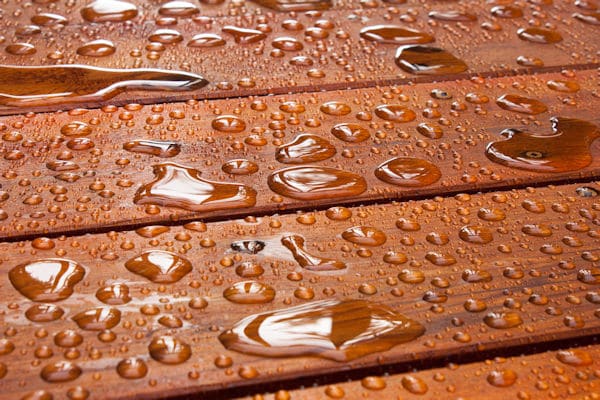
When stain does not have time to dry and cure, rain can undo all the work already done to the deck! As manufacturers suggest not staining a deck for at least 24 to 48 hours after rain, it can be quite a complication. The stain will no longer adhere to the wood and end up causing you to apply more coats, which costs money and time.
Stain, unlike pain, soaks into the layers and lasts the longest when it has time to fully dry and cure. Furthermore, rain can make the appearance of the applied stain blotchy, and you may need to sand the wood to start again to remove the stain.
How Long to Wait After Rain to Stain a Deck
Deck stain needs to dry for at least a day, but two days are better to allow some time to cure and seep into the wood properly. Check the weather and make sure you will have at the very least a two-day period without rain. However, waiting a few extra days of rain-free days will give you the best deck possible.
Additionally, the weather needs to behave before you plan to start, too, so the wood is completely dry before staining as well. Honestly, if you have a completely dry indoor and well-ventilated location, you can avoid problems altogether, but most people do not have the space for indoor painting of deck wood.
How Long Should Stain Dry Before Walking on the Wood?
The temperature will affect the dry time of stain, and you should wait at least four hours before walking on the deck. However, waiting at least a full day will prevent all issues. Also, try to wait a couple of days before placing furniture on the deck to prevent issues.
What to do if it Rains After Staining a Deck
Before panicking, take a look at the deck and see how much damage occurred. Stain has to dry, but it can dry faster than you think, depending on the weather and humidity level. If the rain was gentle and the surface is dry, you may not have a major issue on your hands. Some stains are more capable of handling issues like rain shortly after application.
Check the wood for small blemishes and white spots. Keep in mind, a second coat may be able to fix light blemishes. You can apply a second layer of stain to a less noticeable area to see if the coat will repair the damage. However, if a second coat does not help, you will want to pressure washer to remove the spots or sand and restart.
Additionally, you can attempt to lightly sand the spots and then apply a second coat. If flaking or peeling happens, if you over-apply the stain so make sure to use even coats. For those who do not have success with these methods, you will need to strip the stain off and restart the process.
Types of Deck Stain
Water-based deck stain dries much faster than oil stain. However, oil stain does not need to be reapplied every year. Water-based stain is much safer to use, though, than its oil counterpart. For woods like cypress, cedar, and redwood that are naturally rot-resistant, you should use a water-based stain. If your deck will deal with direct sunlight, rain, or wind, use an oil-based stain. Semi-transparent stains will bring out more of the grain of the wood, while
Factors That Affect the Stain
Location, exposure to weather, and the age of the wood will affect the stain finish of your wood. Full exposure to the elements will mean you need to reapply stain more often, at least once a year. Also, keep in mind that every type of wood reacts differently to stain, and some may take much longer to dry, although fresh wood typically accepts stain well.
The best temperature to stain a deck is 80 degrees Fahrenheit, as it’s the best to absorb the wood and allow it to dry without being too hot. Furthermore, the moisture level should not exceed 12 to 15 percent so the wood can dry. You can stain with higher moisture levels but need to plan extra drying time.
Steps to Staining a Deck

Several steps go into staining a deck:
- Clean the deck surface to remove contaminants that can harm the finish. Either sweep, wash with a sponge, or pressure wash. Wait for the wood to dry completely before the next step.
- Make sure everything is off the deck and plan how you will stain. Planning where you start and stop will improve the appearance of the finished process.
- Use painter’s tape or tarps to cover areas you do not want to stain to prevent accidental issues to external walls.
- Assemble the supplies by putting the stain in the tray and setting up the other necessary tools such as paint brushes or rollers.
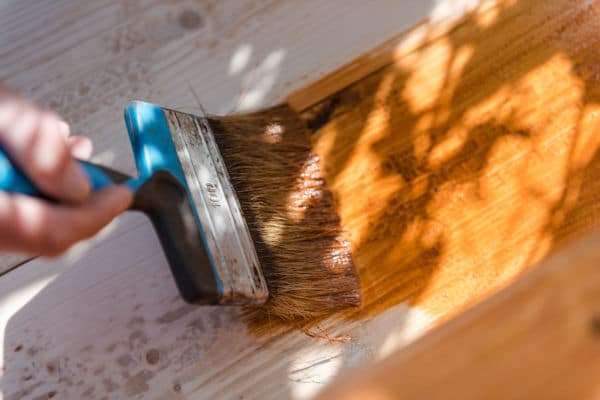
- It’s time to stain! Dip the brush into the stain and make long even strokes to cover the entire surface.
- Wait for the stain to dry before repeating the steps for the second coat. Allow at least one full day if possible for the next coat. Wait a few days before putting furniture back on the deck to allow the wood to cure.
Benefits of Staining a Deck
Staining a deck can help to preserve the natural appearance of the wood and enhance the appearance of the wood. Additionally, the stain can improve the protection by reducing rot and infestation of insects. For these reasons, staining a deck is optimal to give you the backyard you desire.
Final Thoughts
Rain can ruin fresh stain, and proper planning is necessary. Check the weather before starting the process and wait for several days with no rain in the forecast before starting to avoid additional work and time. Do not panic if it does rain, as some stains can handle the moisture, and it’s always fixable even if you have to restart. With the right steps, you can have a beautiful deck.